Friday, July 26, 2013

My Paisley Fabric Quilt

Pin It
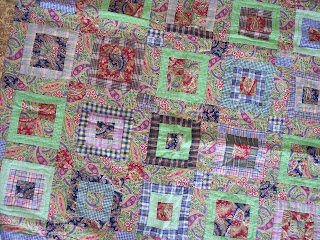
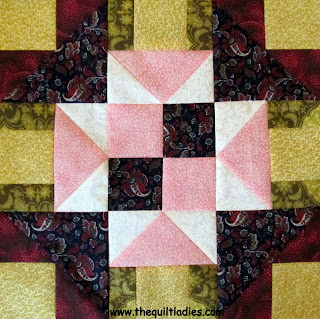
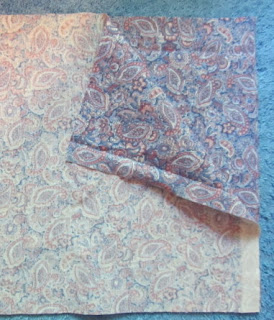
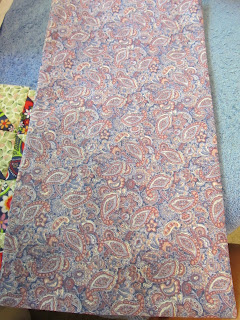
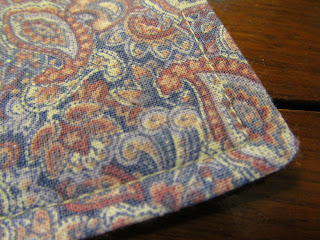
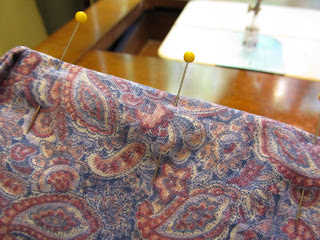
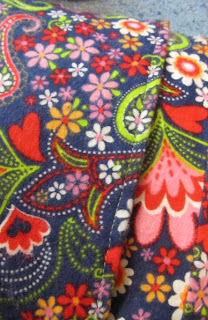
I love paisley fabric and this is my vacation quilt.
I used a very different palette of colors and patterns, it's just fun.
Before the move this is the quilt that I put away here at the condo. Some times, it's nice to cuddle in a quilt no matter what the temperature is outside. 
It's a very simple pattern, a 2 inch center square and then just log cabin around the outside with 1 inch strips.


The finished size is a square 50" x 50" a good size for curling up on the couch. I used a 100% cotton batting and hand quilted.


The Quilt Ladies Store Logo
I am the Author of The Quilt Ladies Book Collection
and Little Quilt Ladies Quilt Patterns


Monday, July 22, 2013

"A Wedding" Book Eight of The Quilt Ladies Book Collection

Pin It
Book Eight of the Quilt Ladies
A Wedding..... All The Quilt Ladies Books and Quilt Patterns - HERE at an unbelievable price 

The writing of book 8 was so much fun for me. I planned a wedding and had to answer, ask or tell anyone, why or what I wanted. From simple days, to family and friends. It is what I hope my day was about, many years ago.

At the time writing book 8, we lived in Windom, Minnesota. A VERY long way from home and I had some very long days and even longer nights. Son #2 was in high school, working, sports and always busy, Husband had his first retail store and worked 24/7.
And I wrote, the wedding was on.....
I wrote, ate and dreamed of nothing but a wedding, for months and months.
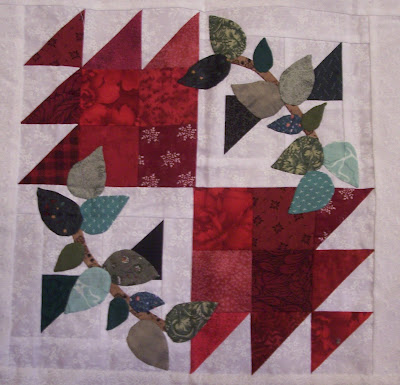
Then came the quilt.
It was overwhelming, everything I've always wanted in a quilt.
This one was designed and done for me, no one else, just me.

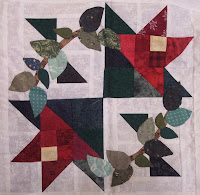
There are 12 blocks, pieced on a sewing machine and hand appliqued with
vines and leaves.


The Quilt Ladies Store Logo
I am the Author of The Quilt Ladies Book Collection
and Little Quilt Ladies Quilt Patterns

Monday, July 15, 2013

Friday Free Quilt Pattern from The Quilt Ladies

Pin It
Monkey Wrench Variation
12” x 12”
I'm breaking blocks down and showing you how a quilt pattern which looks difficult is done. Some look hard, but give them a chance, you can do it. !


Cut 2 Blue – 4 7/8” x 4 7/8”
Cut corner to corner

Cut 4 Red – 2 7/8” x 2 7/8”
Cut corner to corner

Cut 8 Yellow – 2 ½” x 2 ½”

Cut 4 Pink 4 ½” x 2 ½”
 Cut 4 White – 2 7/8” x 2 7/8”
Cut corner to corner

Cut 8 Green – 1 ½” x 2 ½”

Cut 2 Pink – 2 ½” x 2 ½”
Cut 2 Blue – 2 ½” x 2 ½”


Breaking it Down


 Cut 2 Blue – 4 7/8” x 4 7/8”
Cut corner to corner

Cut 4 Red – 2 7/8” x 2 7/8”
Cut corner to corner

Cut 4 Yellow – 2 ½” x 2 ½”

Sew as shown – do 4 times


Cut 4 Yellow – 2 ½” x 2 ½”

Cut 4 Pink 4 ½” x 2 ½”

 Cut 4 White – 2 7/8” x 2 7/8”
Cut corner to corner

Cut 8 Green – 1 ½” x 2 ½”

Sew as shown – do 4 times


Cut 2 Pink – 2 ½” x 2 ½”
Cut 2 Blue – 2 ½” x 2 ½”

Sew a 4-patch as shown


Do rows together as shown – 2 times


 Do center row


Sew rows into block
Quilt Block Weekly - #3


Monday, July 8, 2013

Fun Friday Free Quilt Pattern from The Quilt Ladies

Pin It
I'm breaking blocks down and showing you how a quilt pattern which looks difficult is done. Some look hard, but give them a chance, you can do it. !

See my NEW Quilt Ladies Shop on ETSY 

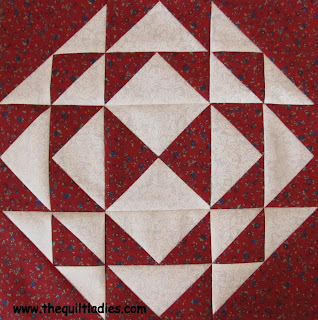
Corn and Beans
Twelve inches by Twelve inches
how to make a quilt block
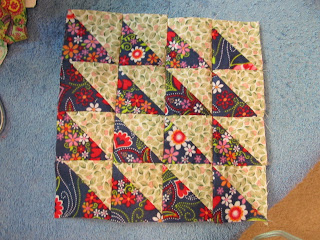
How piece Triangles

Adding Triangle Units

Quarter Triangles

Flying Geese


Cut 2 Red – 2 7/8” x 2 7/8”
Cut 2 White – 2 7/8” x 2 7/8”
Make Triangles

Cut 4 White - 2 7/8” x 2 7/8”
Cut corner to corner

Cut 2 Red – 4 7/8” x 4 7/8”
Cut corner to corner

Cut 8 White – 4 ½” x 2 ½”
Cut 8 White – 2 ½” x 2 ½”


Cut 1 Red - 5 1/4” x 5 1/4”

Cut 1 White - 5 1/4” x 5 1/4”

free quilt block pattern

Breaking it Down


Cut 2 Red – 2 7/8” x 2 7/8”
Cut 2 White – 2 7/8” x 2 7/8”
Make Triangles

Cut 4 White - 2 7/8” x 2 7/8”
Cut corner to corner

Cut 2 Red – 4 7/8” x 4 7/8”
Cut corner to corner

Sew as shown – 4 times


Cut 8 White – 4 ½” x 2 ½”
Cut 8 White - 2 1/2” x 2 1/2”

Cut 2 Red
Cut 2 White Center


Sew as shown – 8 times
Sew into 4 units of 2 each


Cut 1 Red - 51/4” x 5 1/4”
Cut 1 White - 51/4” x 5 1/4”
You will have one left over


Sew into rows – 2 times
Sew the center row together


Sew rows together to form block

how to make a quilt block


Book Corners How to Make - The Quilt Ladies

Pin It
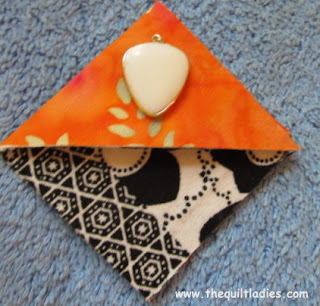
Corner Book Mark
I love giving books and this bookmark makes it personal. Years ago the pre-school I worked at made these out of paper, mine are the same idea, just with fabric.


1 Heavy piece of paper, index card works well
2 Pieces of fabric 4 ½” x 4 ½”
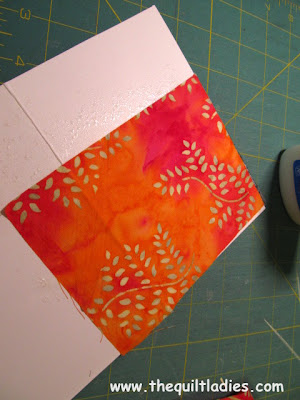
With white glue, glue each piece of fabric to each side of the heavy card.  Let dry.


On the light color fabric, draw out a 4 Patch block, each block measuring 2” x 2”
On opposite corners draw a line corner to corner

With scissors or exacto knife, cut as shown


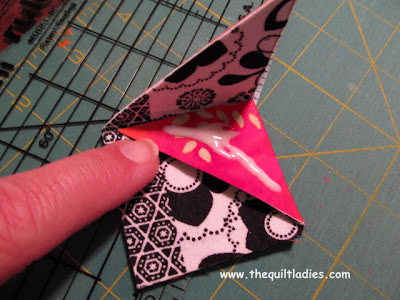
Score lightly the square lines,

 fold over and glue.


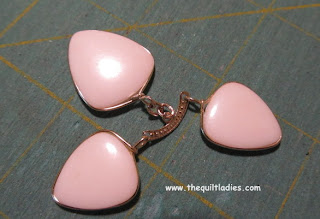
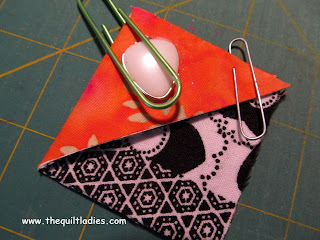
I’m always picking up things like this, you can use bottoms, beads, anything that is not too thick. Cut apart and glued.


Paper clip to hold until dry.


Read about All of Beth Ann’s Books


Beth Ann is a Quilter and an Author who
decided to self-publish her books and quilt pattern books

SEE Beth Ann’s BOOKS on Amazon and
PDF download quilt patterns on Etsy

www.bethanndoing.com
www.thequiltladies.com


Friday, July 5, 2013

How to make a Rice Bag

Pin It
Christmas in July with
The Quilt Ladies
Rice Bag

This is one of the things you think you will NEVER need or want  ! ! 
I need it and I want it. 
Make one for everyone and for yourself. 

It's simple white non-cooked rice in a bag, warm it in the Microwave and you have a heating pad. I use it all year around.


I like to use Flannel, but cotton and fleece work too
Cut  8 Flannel Squares - 2 7/8" x 2 7/8"
Cut 2 Cotton Squares 2 7/8' x 2 7/8"

Make Triangles - How to HERE
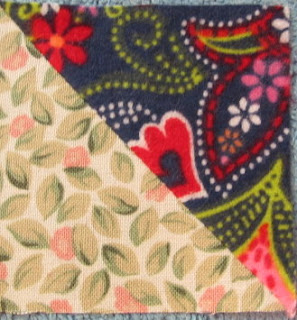
how to make a rice bag tutorial

You will have 16 squares


how to make a rice bag

Piece them into 4 rows, 4 in each row.

how to make a rice bag tutorial

Sew the rows together.
The Quilt Ladies Patterns


For the Rice Bag

Cut a piece of fabric 9" x 28" 
Fold in half and press

how to make a rice bag

Sew both of the long sides together,


Using a 5/8" seam allowance


Turn the bag right side out, pull corners out and press

making a rice bag

Top Stitch 1/4" around sides, and bottom.

Fill bag with rice. (I use the cheapest I can find)

I put 6 Cuts of White right in mine (try it and add what you like)


Turn in the top edge and pin and top stitch across the top.
Mine is turned in about 2 inches. I like it firm.

how to make a rice bag

Cut 2 Flannel pieced 12" x 8 1/2" 
(if you didn't make you bag as firm add fabric to length here)

Sew one to each side


Press the edge under and fold over, press.

Top Stitch both sides.

how to make a rice bag tutorial

Fold one of the edges, right side to right side over to the center of the patchwork.


Fold the other edge over 1 1/4" and sew both of the sides closed.


Turn bag right side out.


Fill Flannel bag with Rice Bag


You can add a Velcro here to hold closed, BUT I leave it open,
so my foot can get inside of it in.... NOTHING better.
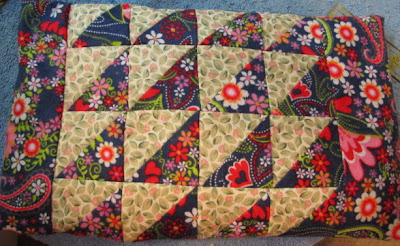
tutorial of how to make a rice bag

The Finished Rice Bag.

HAPPY Christmas IN July


The Quilt Ladies Store Logo
I am the Author of The Quilt Ladies Book Collection
and Little Quilt Ladies Quilt Patterns

Related Posts Plugin for WordPress, Blogger...