Showing posts with label Projects. Show all posts

Thursday, November 17, 2011

Sewing Room Table ReFinished with Paint

Pin It
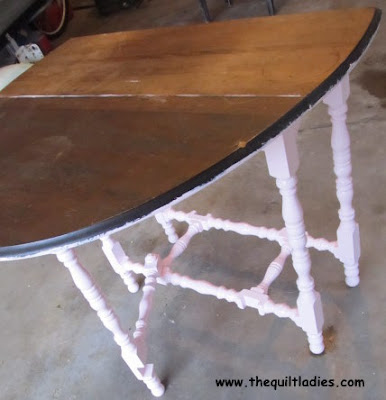
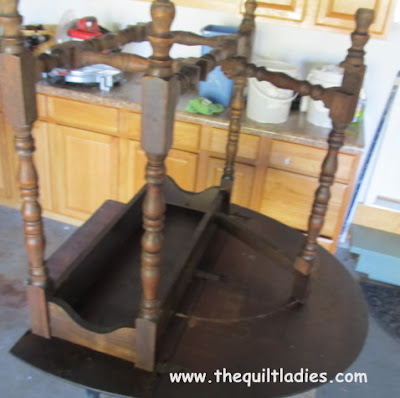
 Needed just a few touch ups on the table when it was turned over.

Last Week - HERE


Sewing Room Table ReFinished with Paint

Sewing Room Table ReFinished with Paint

Again, days of coats and they had to dry in between.


Table ReFinished with Paint

I like the oil paint to the point that it made a wonderful HARD surface, the drying time, the smell and then the time again was nuts.

 What a project, not hard. But, loads for time.   This table sat in our garage just over 2 weeks after finished, the smell was not going into my sewing room. For me, next time, porch and deck paint, LATEX !
Sewing Room Table ReFinished with Paint

Looking at it,  I love it !
But, next time, latex paint for me !


Beth Strub of The Quilt Ladies

Beth is the Author of The Quilt Ladies Book Collection
and Little Quilt Ladies Pattern Series 


Wednesday, November 9, 2011

Sewing Room Table Redoing it With Paint

Pin It
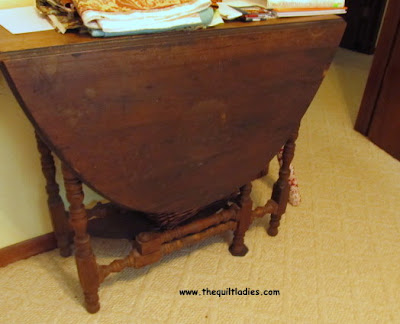
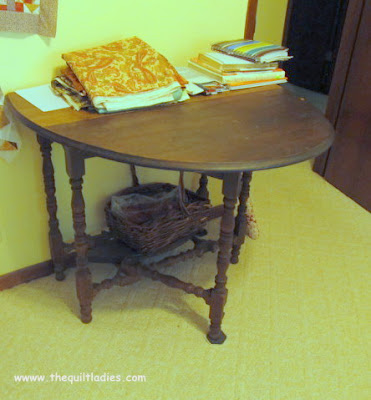
 I've been wanting to paint this table for a bit,  I picked it up years ago at an auction in Spirit Lake, IA. And, I know it was only a couple of dollars.   

Table Redoing it With Paint


Sewing Room Table Redoing it With Paint

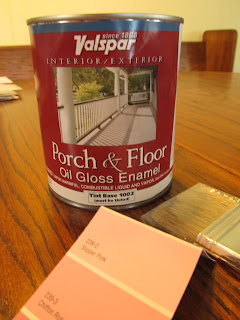
I saw this on one of the decorating shows to use Porch & Floor paint on furniture. So, off to the paint store and had it mixed to pink in "OIL"    Next time.... I'll go with Latex.

Sewing Room Table Redoing it With Paint

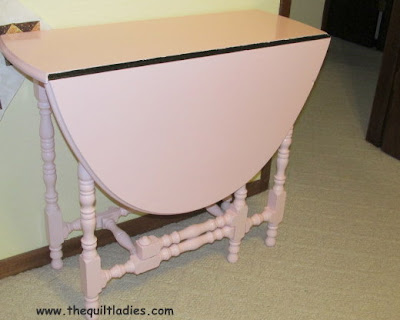
It's a drop leaf with only on side that drops.  Which is just great for the size of my sewing room.

Sewing Room Table Redoing it With Paint

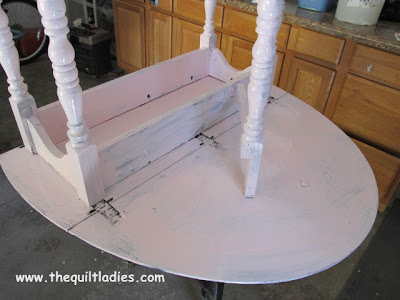
Off to the garage and paint, I did deglosser first and then daily coats of the oil paint.


Sewing Room Table Redoing it With Paint

This is the first coat, I did 3 coats, on each side.

Beth Strub of The Quilt Ladies

Beth is the Author of The Quilt Ladies Book Collection
and Little Quilt Ladies Pattern Series 

Thursday, September 8, 2011

Painted Writing Desk Finished

Pin It
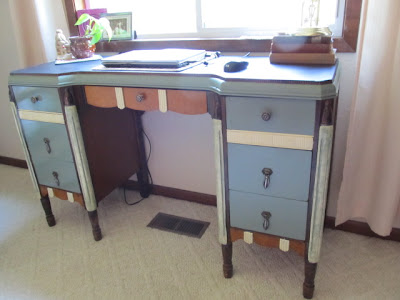
My little corner of the world is finished, I over look the back yard and I love it
See the beginning - HERE

Painted Desk Finished

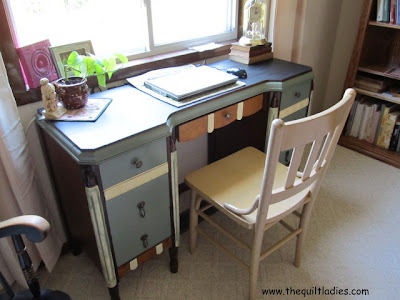
My old desk chair works perfect.

Painted Writing Desk Finished

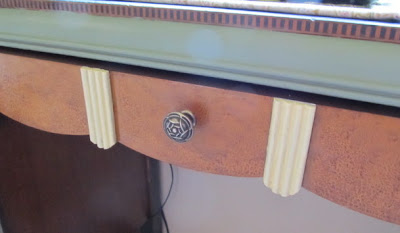
The center draw is my favorite, having everything right there.


Painted Writing Desk Finished

It fits under the window perfect and I have all my needs on the 
bookcase right next to it.


Painted Desk Finished


Painted Desk Finished


My desk all done.
bethanndoing.com

Beth Strub of The Quilt Ladies

Beth is the Author of The Quilt Ladies Book Collection
and Little Quilt Ladies Pattern Series 


Tuesday, August 30, 2011

Writing Desk Re-Finished with Paint

Pin It
 I hear it all the time, why paint? and as I say to my mother, "Why not."  
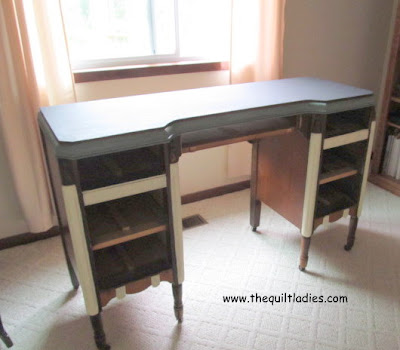
I'd paint everything,  change it, make it mine. This is not an expensive piece of furniture, even in it's day, it wasn't. So I'm making it mine !  Project start - HERE


Writing Desk Re-Finished with Paint

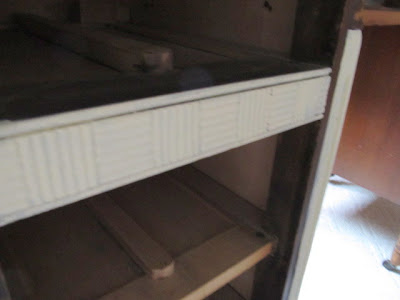
I did it in sections, it was to hot in the garage this summer, so had  plastic and paper down in the desks new room.

Had an email from Amy at  A Quilting Sheep and she asked my process, my email back to her.

"I like the de-glosser, it's great. Just takes off the shine. You put it on, let it dry and paint. Don't have to remove anything. And it has very little smell. Try an inside door it you like first. I deglossed in the garage and then painted in it's room.

I do de-glosser, primer, paint, with this desk I  did not put a sealer on. The paint looks great. After everything is dry, 48 hours, use a heavy brown paper sack and go over everything like sand paper, makes it so soft."

Writing Desk Re-Finished with Paint

My sewing studio will no longer be my office too ! Have to separate the mind work from the creating work.

The Quilt Ladies Store logo
The Quilt Ladies Store

Beth is the Author of The Quilt Ladies Book Collection, See her books, eBooks and quilt pattern series, Little Quilt Ladies - HERE      

Tuesday, July 5, 2011

How to make a Rice Bag

Pin It
Christmas in July with
The Quilt Ladies
Rice Bag
This is one of the things you think you will NEVER need or want  ! ! 

I need it and I want it. 

Make one for everyone and for yourself. 

It's simple white non-cooked rice in a bag, warm it in the Microwave and you have a heating pad. I use it all year around.


I like to use Flannel, but cotton and fleece work too
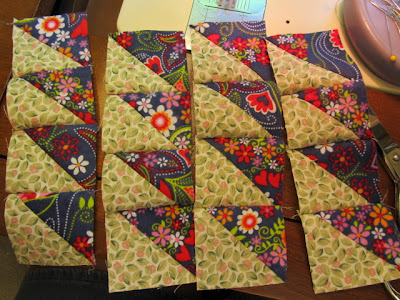
Cut  8 Flannel Squares - 2 7/8" x 2 7/8"
Cut 2 Cotton Squares 2 7/8' x 2 7/8"

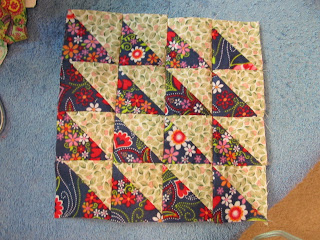
Make Triangles - How to HERE

How to make a Rice Bag

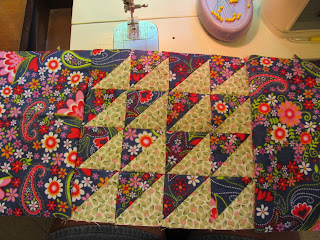
You will have 16 squares


Christmas in July How to make a Rice Bag

Piece them into 4 rows, 4 in each row.

Christmas in July How to make a Rice Bag

Sew the rows together.


For the Rice Bag

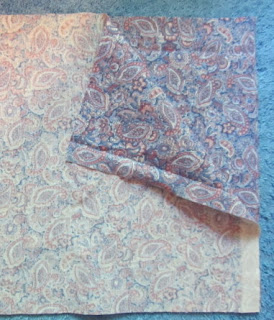
Cut a piece of fabric 9" x 28" 
Fold in half and press

Christmas in July How to make a Rice Bag

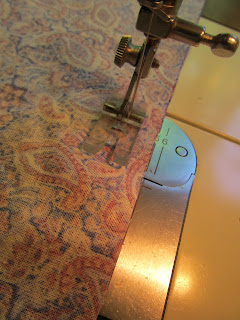
Sew both of the long sides together,

Christmas in July How to make a Rice Bag

Using a 5/8" seam allowance

How to make a Rice Bag

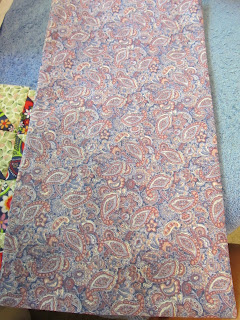
Turn the bag right side out, pull corners out and press

How to make a Rice Bag

Top Stitch 1/4" around sides, and bottom.

Fill bag with rice. (I use the cheapest I can find)

I put 6 Cuts of White right in mine (try it and add what you like)

Christmas in July How to make a Rice Bag

Turn in the top edge and pin and top stitch across the top.
Mine is turned in about 2 inches. I like it firm.

How to make a Rice Bag

Cut 2 Flannel pieced 12" x 8 1/2" 
(if you didn't make you bag as firm add fabric to length here)

Sew one to each side

How to make a Rice Bag

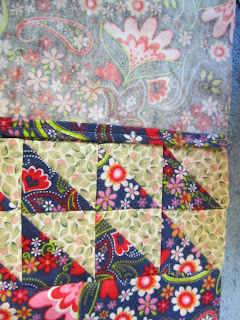
Press the edge under and fold over, press.

Top Stitch both sides.

How to make a Rice Bag

Fold one of the edges, right side to right side over to the center of the patchwork.

How to make a Rice Bag

Fold the other edge over 1 1/4" and sew both of the sides closed.

How to make a Rice Bag

Turn bag right side out.

How to make a Rice Bag

Fill Flannel bag with Rice Bag

How to make a Rice Bag

You can add a Velcro here to hold closed, BUT I leave it open,
so my foot can get inside of it in.... NOTHING better.
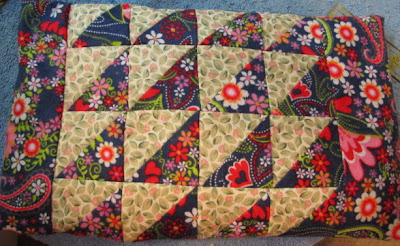


The Finished Rice Bag.
bethanndoing.com
HAPPY Christmas IN July

I am the Author of The Quilt Ladies Book Collection
and Little Quilt Ladies Quilt Patterns
Wednesday, April 27, 2011

A litte with a lot of Return

Pin It


DL #2 picked up these frames for $2.00 and with lettering from the dollar store, paints she had, made wonderful windows. A little time, a little money and loads of creative ideas. Very nice.

Be Kind to All,
Beth

Thursday, October 21, 2010

Before Entry and After

Pin It
 Doing the new Star for the entry (last week), opened a whole new project.

The BEFORE


We changed the door out about 2 years ago, and I didn't get it painted.


Coat one and I did 5 coats to get the color I wanted.

I also, painted the floor with a really neat paint from Lowe's for concrete, it's really thick and not slick, it was a bit of a project but, worth it.


The After  and Done !

Sew Happy, Beth
Check out Romantic Home


show-n-tell


Thursday, August 19, 2010

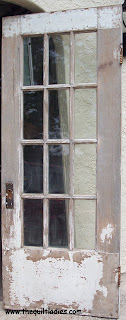
Old Wooden Door has a Head Board

Pin It
Old Wooden Door has a Head Board

Old Wooden Door has a Head Board

Looking at the pictures on the blog, I didn't like that there was no headboard.
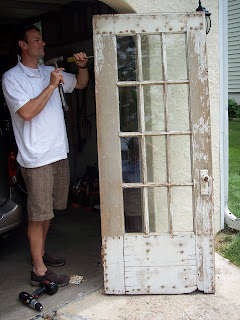
Husband takes one day off during the week and we headed to a flea market. I mentioned a queen size headboard, but something different. And, look what we found. I liked the full walnut one that said, "Boys Locker Room", he picked this one. I think I'm rubbing off on him?
Old Wooden Door has a Head Board

All the glass is perfect, I cleaned and cleaned.
We had the discussion to paint, I didn't.
Old Wooden Door has a Head Board

He had to move the hinges to the other side so they could be left on,
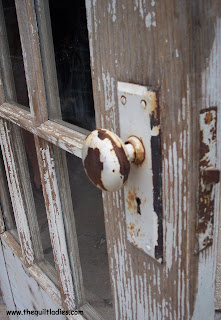
They look great, old and a bit of rust. Love them.

Old Wooden Door has a Head Board

The door handle, Stop back tomorrow and see the room on Quilt Show Saturday,

Sew Happy,
Beth
Related Posts Plugin for WordPress, Blogger...