Beth is the Author of The Quilt Ladies Book Collection, See her books, eBooks and quilt pattern series, Little Quilt Ladies – HERE
Friday, July 29, 2011
Tuesday, July 19, 2011
How to make a Simple Book Corner Bookmark
Happy Christmas in July with The Quilt Ladies
Corner Book Mark
I love giving books and this bookmark makes it personal. Years ago the pre-school I worked at made these out of paper, mine are the same idea, just with fabric.
1 Heavy piece of paper, index card works well
2 Pieces of fabric 4 ½” x 4 ½”
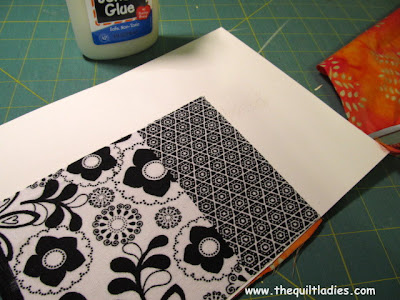
With white glue, glue each piece of fabric to each side of the heavy card. Let dry.
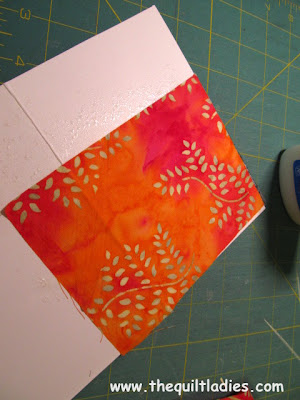
On the light color fabric, draw out a 4 Patch block, each block measuring 2” x 2”
On opposite corner draw a line corner to corner
With scissors or exacto knife, cut as shown
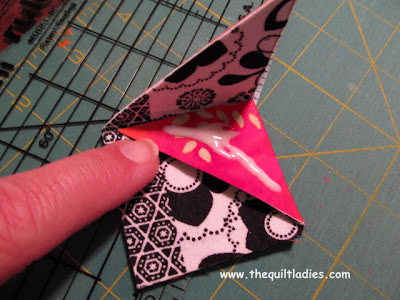
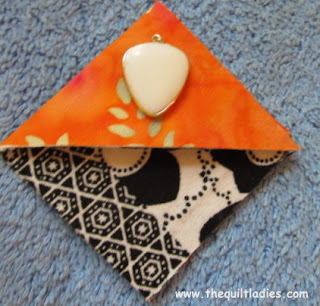
fold over and glue.
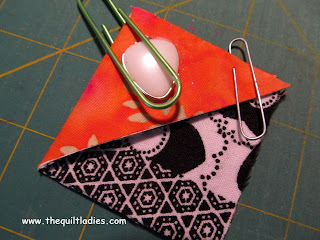
Use paper clip to hold glue, until dry.
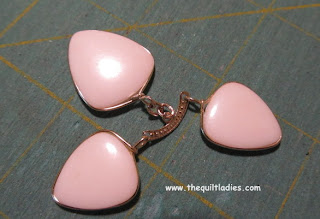
I’m always picking up things like this, you can use bottoms, beads, anything that is not too thick. Cut apart and glued.
Paper clip to hold until dry.
Christmas in July with The Quilt Ladies
and Little Quilt Ladies Quilt Patterns
Thursday, July 14, 2011
How to make a Tote Bag Tutorial
Happy Christmas in July
I've been wanting to do a bag for sometime and here we go. Years ago I worked at the public library in Sioux City, Iowa. They had wonderful canvas bags for the home delivery patrons and I based my pattern on what I remember about them.
The Quilt Ladies Bag
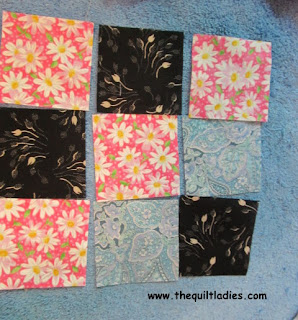
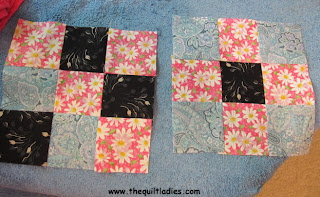
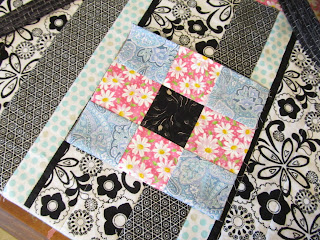
Cut 18 squares assortment of colors – 2 ½” x 2 ½”
Lay fabric and sew into 2, 9-patch squares
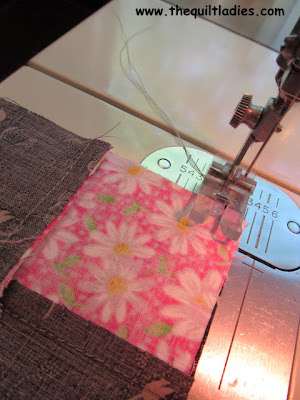
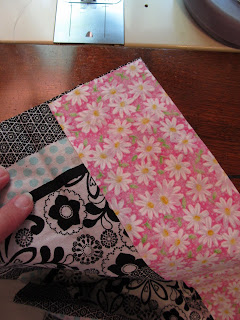
Put patchwork and lining good side to good side and sew with a 1/4” seam allowance across the top of the patch work.
Fold lining back press, and
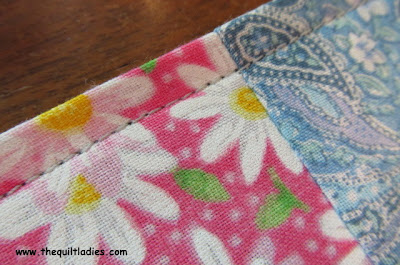
Top stitch along the edge just sewn.
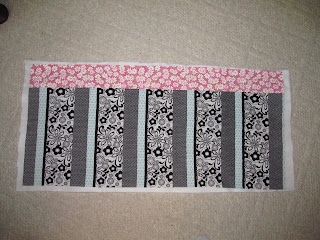
Cut 1 piece of fabric - 35” x 14”
Cut 1 piece of fabric – 35” x 3”
Sew together to form the bag.
Cut 1 Batting 35” x 17”
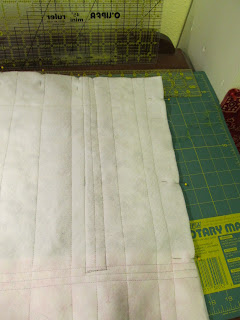
Layer, batting and bag. Lay flat and press if needed. This is the time to quilt your bag, by hand or by machine.
I machine straight stitched mine.
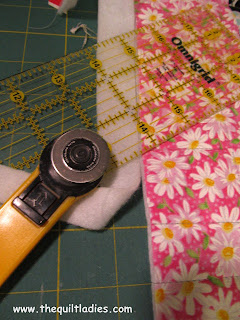
Trim bag to = 34” x 16”
Cut 2 strips for the handles – 3” x 54”
Cut 2 strips of batting for handles – 1” x 54”
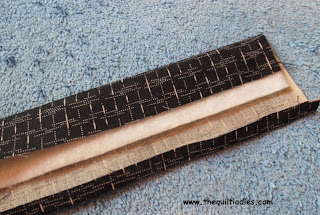
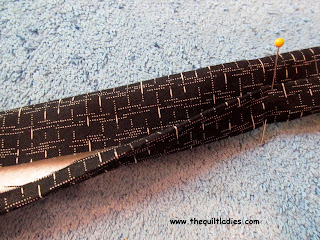
Press one edge of the handle in ¼” and the other edge press down 1” .
Insert batting and fold fabric over, add top stitching.
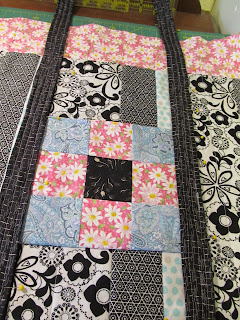
Lay the bag out and place pockets, measure as shown above,
Measure pockets in place, fold the pocket down and pin, sew with ¼” seam allowance.
Fold back up and press.
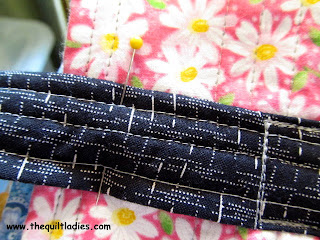
Add handles, making sure they do not cross, pin and top stitch. Stop stitch about 2 inches from the top. Do both pockets.
Extend handles out of the bag and fold the bag in half. Sew along the bottom and side seam.
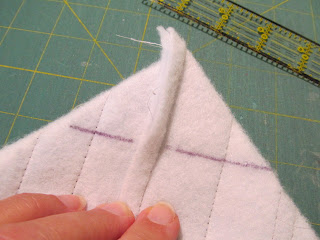
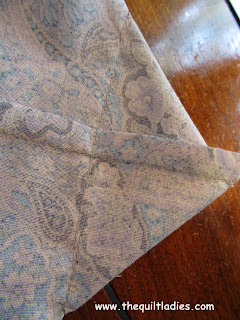
Fold the bottom edge over to form a triangle, Sew side to side, trim. Do both sides.
Cut lining, 34” x 16” and fold lining in half and sew along the bottom and side, leaving 2-3 inches open to turn bag right side out.
Fold the bottom edge over to form a triangle, Sew side to side, trim. Do both sides.
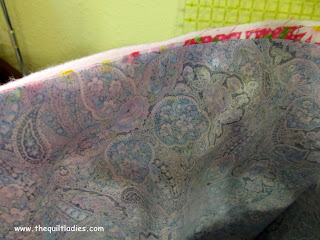
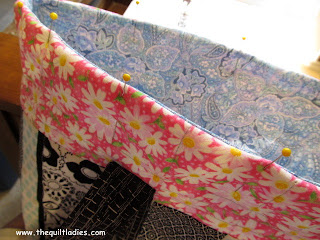
Turn bag with the batting on the outside, insert lining good side to good side. Sew to the top edge using ¼” seam allowance.
Pull bag right side out,
Press top edge and top stitch. Hand sew the lining opening closed.
Add top stitching across the handles to hold them secure.
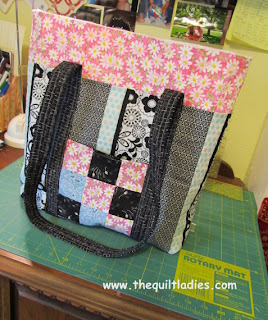
The Quilt Ladies Finished Tote bag.
Christmas in July
Beth is the Author of The Quilt Ladies Book Collection
Subscribe to:
Posts (Atom)


