Showing posts with label How To's. Show all posts

Thursday, January 15, 2015

Last Step of Nine Patch Quilted Table Topper Tutorial by The Quilt Ladies

Pin It

Part Four of 9-Patch Table Topper Pattern

Fifteen inches by fifteen inches

15" x 15"


Nine Patch Quilted Table Topper Tutorial

Sew your rows diagonally across

Start at the corner
 These are cut larger than needed
Center your point of the triangle at the center for the 9-patch block
Nine Patch Quilted Table Topper Tutorial

Sew with 1/4" seam allowance the press to the outside,
Cut NOTHING. not seam allowance, not points.

Nine Patch Quilted Table Topper Tutorial

Add the side triangles, even with the edge, let any extra go to the point end.
Sew with 1/4" seam allowance, again,
Cut Nothing, not seam allowance, not points, Press to the outside.

Nine Patch Quilted Table Topper Tutorial by The Quilt Ladies

The Quilt Ladies Store

Nine Patch Quilted Table Topper Tutorial

Add opposite side triangle as before.

Nine Patch Quilted Table Topper Tutorial by The Quilt Ladies

Do not TRIM 
Nine Patch Quilted Table Topper Tutorial

Keep adding Rows, using 1/4" seam allowance
press as out go
Nine Patch Quilted Table Topper Tutorial by The Quilt Ladies

I like to sew each row together and then add that row to first one,
Just the way I do it.

Nine Patch Quilted Table Topper Tutorial by The Quilt Ladies

More rows  

Nine Patch Quilted Table Topper Tutorial by The Quilt Ladies

Finished Center
The Quilt Ladies Store
nine-patch quilt block into a quilted topper.

Trim to 1/4" all the way around the quilt! 

quilted table topper


nine-patch quilt block into a quilted table topper.

See you in a few days and we'll add borders

The Quilt Ladies Store Logo
I am the Author of The Quilt Ladies Book Collection
and Little Quilt Ladies Quilt Patterns


Monday, December 8, 2014

Quilt Pattern Lap Blanket from The Quilt Ladies

Pin It

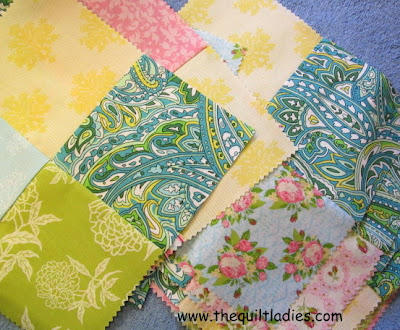
Simple 4-Patch Quilt Pattern Top 50" x 50"

how to make a 4-patch quilt top tutorial

Pieced Blocks


Cut 62 - 4 1/2" x 4 1/2" squares
Sew into 4-patch block

How to make a 4-patch square, Instructions HERE
how to make a 4-patch quilt top

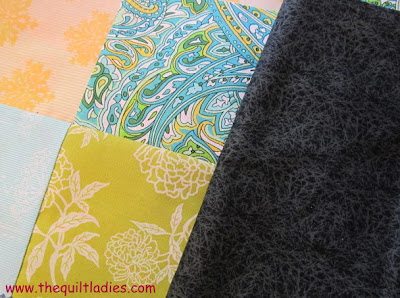
I'm using a dark border fabric

how to make a 4-patch quilt top tutorial

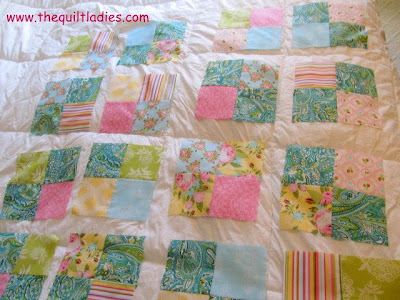
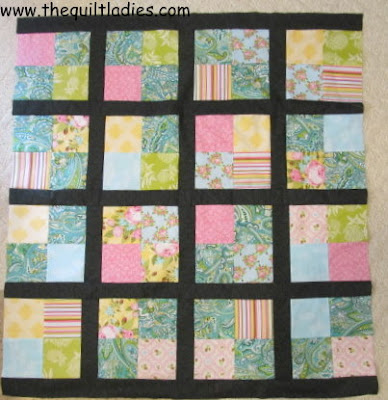
Lay your squares out and arrange as you like.


Cut 12 green - 2 1/2" x 8 1/2" Strips
Sew in between blocks.

Cut 5 green - 2 1/2" x 38 1/2'
Sew to the top and bottom

The Quilt Ladies Store


Keep adding rows


how to make a 4-patch quilt top tutorial

The third row


how to make a 4-patch quilt top tutorial

The fourth row.


Cut 2 green - 2 1/2" x 42 1/2
Sew to the sides.
how to make a 4-patch quilt top

I added one border, you can add more !

Cut 2 Strips 4 1/2" x 42 1/2
Sew to the top and bottom

Cut 2 Strips 4 1/2" x 50 1/2
Sew to the sides.

how to make a 4-patch quilt top


The Quilt Ladies Store Logo
I am the Author of The Quilt Ladies Book Collection
and Little Quilt Ladies Quilt Patterns


Thursday, October 16, 2014

Quilt Binding Tutorial and How to Hand Stitch the Binding Down

Pin It

I'm sharing the way "I" do quilt binding. Like everything in quilting there are MANY ways. This is the way "I" do it ! ! 

Cut your strip 2 ½” inches wide and long enough to go 

all the around your quilt PLUS 6-8 Inches

More is ALWAYS better with this
The Quilt Ladies NOW on Kindle and NOOK 

How to make Quilt Binding Tutorial and How to Hand Stitch the Bind


How to make Quilt Binding Tutorial and How to Hand Stitch the Bind

 Cut enough strips to go around the outside edge of your quilt.
Sew all strips together with a 45-degree angle.
How to make Quilt Binding Tutorial and How to Hand Stitch the Bind
 Sew and Trim to ¼ inch seam allowance
Open and Press and trim any ends. 
Do this to make all binding needed.
How to make Quilt Binding Tutorial and How to Hand Stitch the Bind


The Quilt Ladies NOW on Kindle and NOOK

 How to make Quilt Binding Tutorial and How to Hand Stitch the Bind


BUT ALWAYS check YOUR BOBBIN THREAD, make sure you have enough to make it all the way around the quilt. NOTHING worse than to stop and fill or change a bobbin! 


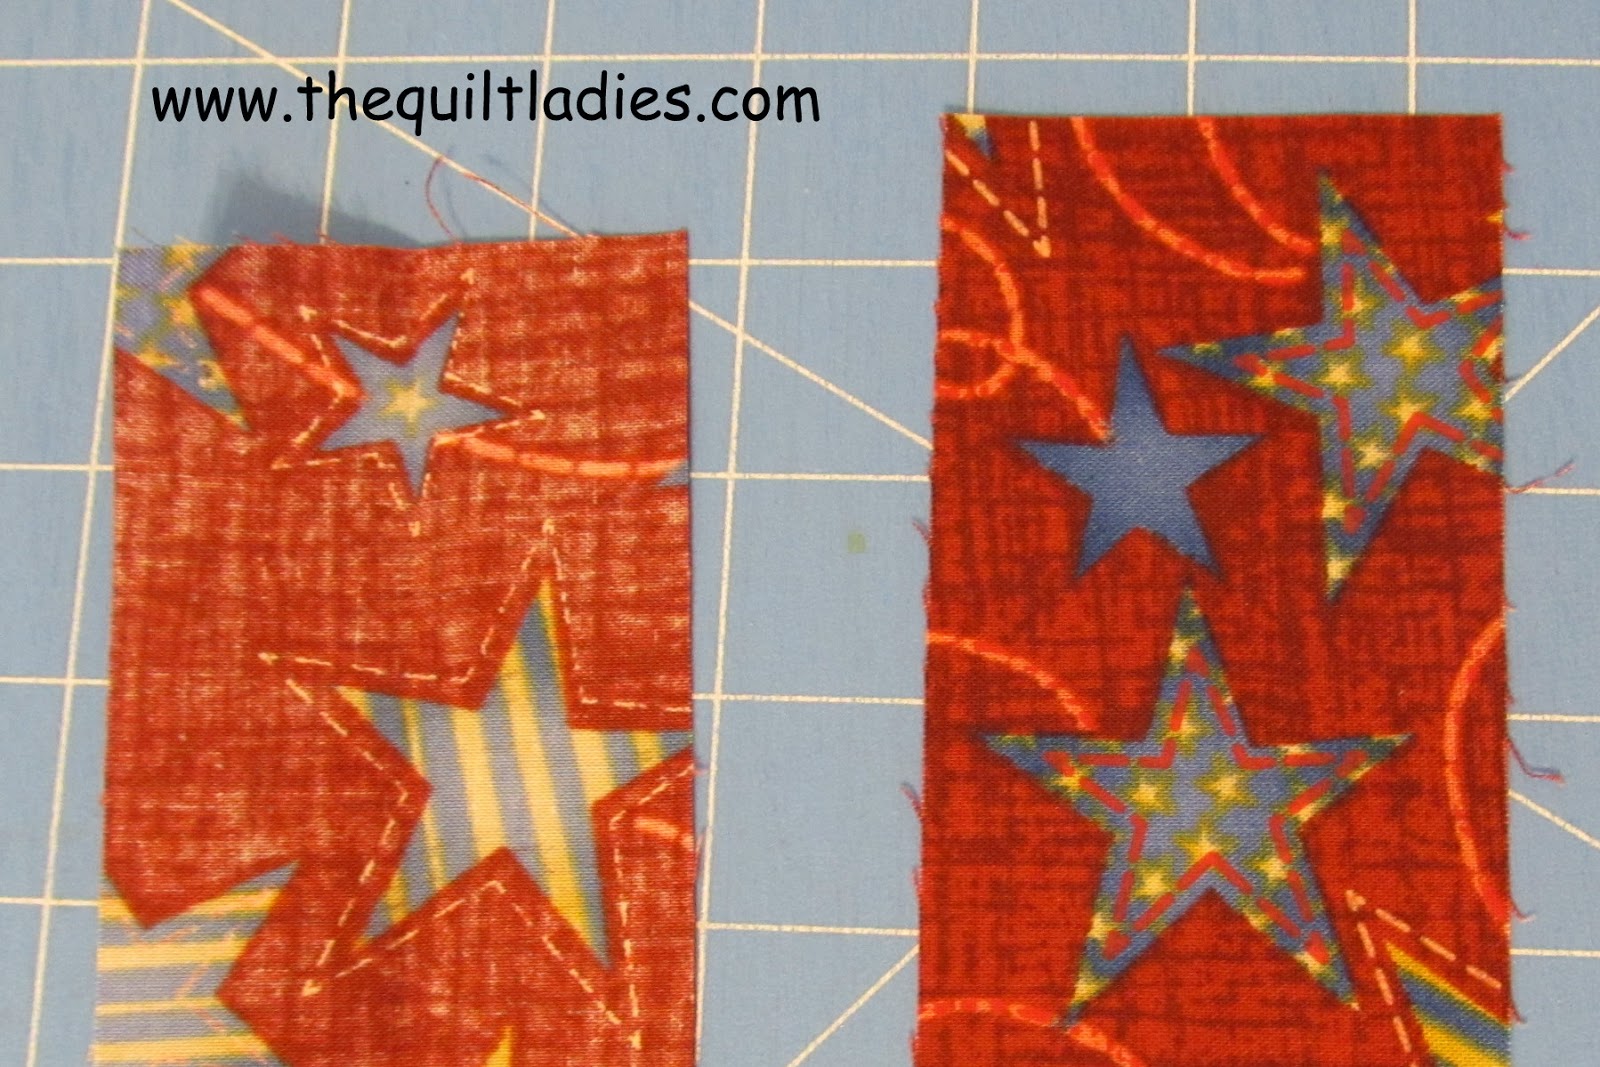
This is where "I" do it a bit different, I just can't get the seam right using the fold the corner way, I do a straight seam here as shown
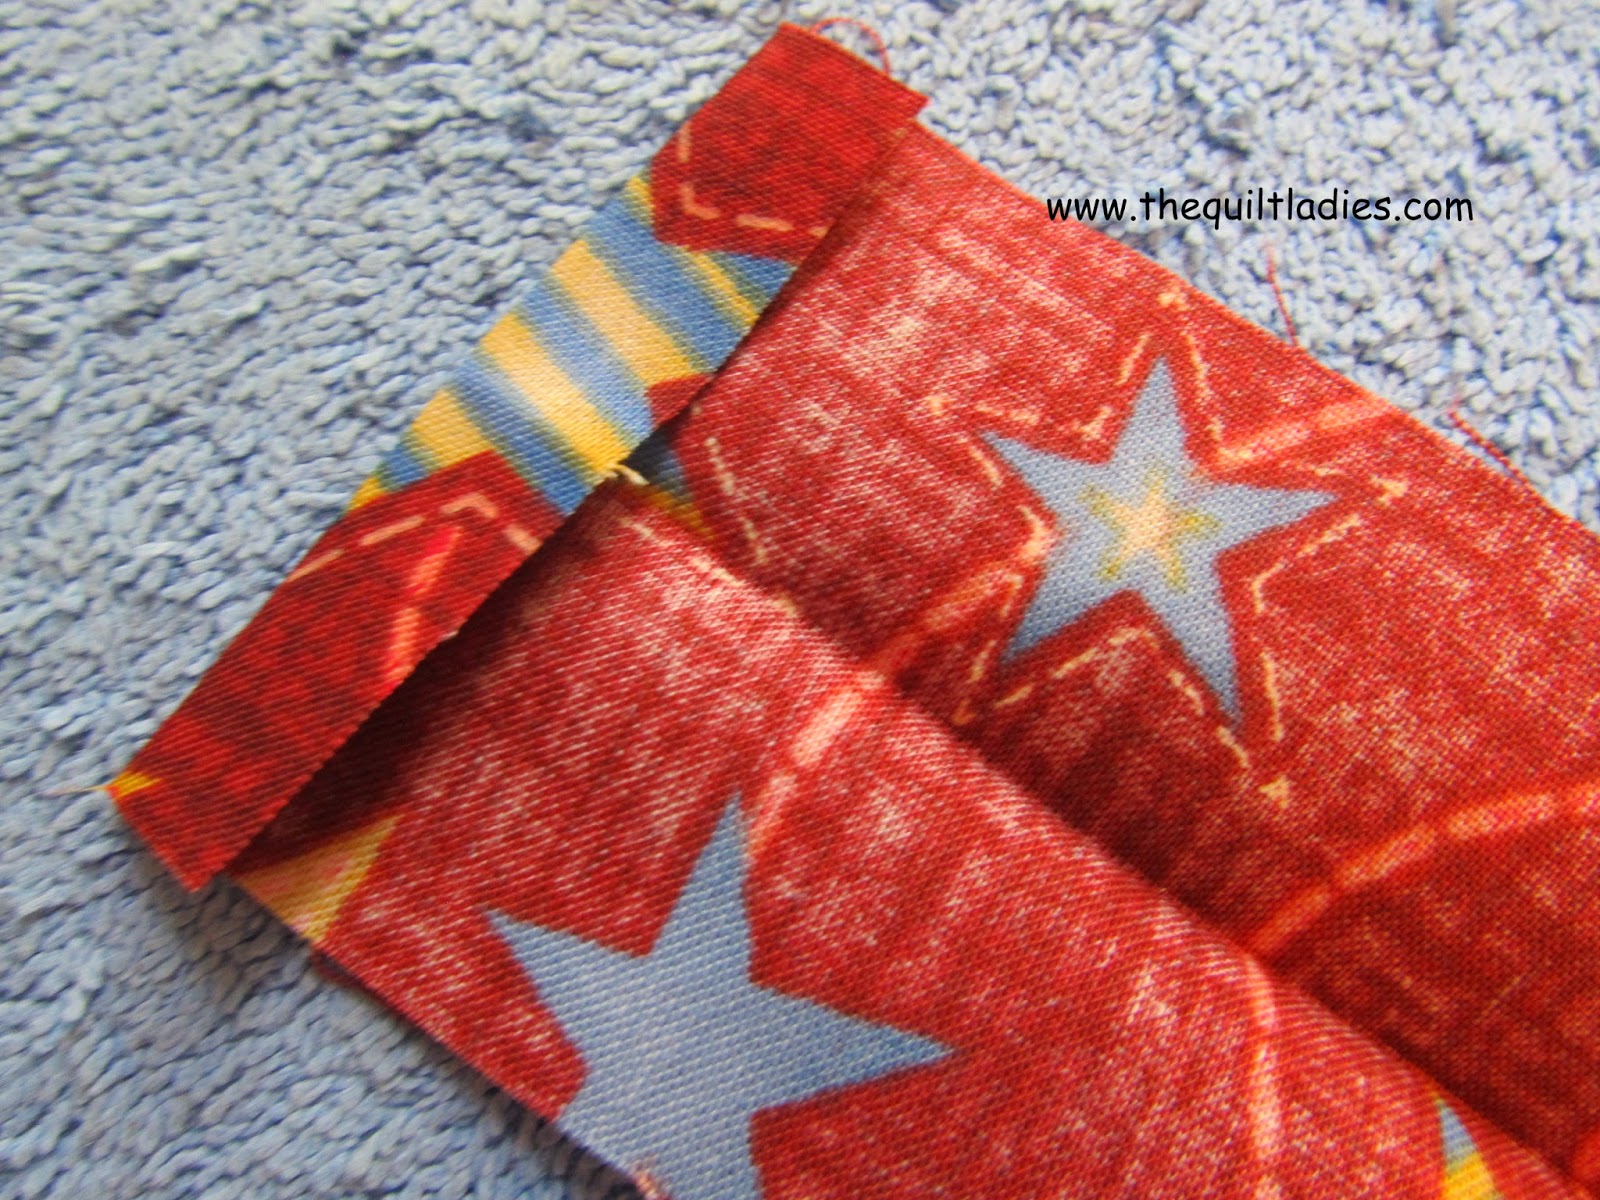
How to make Quilt Binding Tutorial and How to Hand Stitch the Bind


How to make Quilt Binding Tutorial and How to Hand Stitch the Bind

Start sewing about 5-6 inches from your binding end, 
Sew the binding with a ¼ inch seam allowance. 


 I mark with a pin on each corner
How to make Quilt Binding Tutorial and How to Hand Stitch the Bind

Sew the binding with a ¼ inch seam allowance. Stop ¼ from the edge. Back stitch a few stitches.
How to make Quilt Binding Tutorial and How to Hand Stitch the Bind


How to make Quilt Binding Tutorial and How to Hand Stitch the Bind

Fold the binding back.
Fold binding back down on to the Quilt. Match up edges.
A diagonal fold will form between the layers and a straight fold on top. Do corners one at a time, but

How to make Quilt Binding Tutorial and How to Hand Stitch the Bind

Do this on all four corners


Stop sewing about 4-5 inches from the first end. 

How to make Quilt Binding Tutorial and How to Hand Stitch the Bind

Pin well, fold over and match the ends

How to make Quilt Binding Tutorial and How to Hand Stitch the Bind

Press

How to make Quilt Binding Tutorial and How to Hand Stitch the Bind

Open up and mark your SEWING line 

How to make Quilt Binding Tutorial and How to Hand Stitch the Bind

On both sides

How to make Quilt Binding Tutorial and How to Hand Stitch the Bind

This is your SEWING line, Sew and trim seam.

How to make Quilt Binding Tutorial and How to Hand Stitch the Bind

Continue sewing the binding to the quilt. 
How to make Quilt Binding Tutorial and How to Hand Stitch the Bind

The right side of the quilt

How to make Quilt Binding Tutorial and How to Hand Stitch the Bind

You will need to trim your batting, I like to trim mine about an 1/8 of an inch from the binding
edge

The Quilt Ladies NOW on Kindle and NOOK

Fold the binding open

How to make Quilt Binding Tutorial and How to Hand Stitch the Bind

Pull it over the machine stitches. 

How to make Quilt Binding Tutorial and How to Hand Stitch the Bind

Pin and I like to hand stitch

How to make Quilt Binding Tutorial and How to Hand Stitch the Bind

Blind Stitch, I like to hide my knot in the inside.
Single thread, I use about 18 inches at a time. 
Catch just a bit of fabric on the binding, 

How to make Quilt Binding Tutorial and How to Hand Stitch the Bind

Take a stitch straight across and then back into the binding just a few threads.


How to make Quilt Binding Tutorial and How to Hand Stitch the Bind

Make sure your thread matches and as below, I have about 6-8 stitches down in this photo

How to make Quilt Binding Tutorial and How to Hand Stitch the Bind

 Stitch all the way into the fold.
How to make Quilt Binding Tutorial and How to Hand Stitch the Bind

Pull your needle out and fold other corner over, 

How to make Quilt Binding Tutorial and How to Hand Stitch the Bind

Sew the corners closed on BOTH sides. Back side here
How to make Quilt Binding Tutorial and How to Hand Stitch the Bind

How to make Quilt Binding Tutorial and How to Hand Stitch the Bind

Push needle through and stitch the front corner seam closed. 
How to make Quilt Binding Tutorial and How to Hand Stitch the Bind

Push needle through to the back and continue sewing around the quilt.

How to make Quilt Binding Tutorial and How to Hand Stitch the Bind

How to make Quilt Binding Tutorial and How to Hand Stitch the Bind

Finished corners.
 Do all Four
How to make Quilt Binding Tutorial and How to Hand Stitch the Bind


The Quilt Ladies NOW on Kindle and NOOK
Related Posts Plugin for WordPress, Blogger...